Interested in building your own engine, or at least learning the steps behind high-performance engine assembly?
Perfect! You’re in the right place.
Though it might appear a daunting prospect, we’re here to show you that engine assembly is probably not as hard as you think. In fact, with the right guidance (like you’ll find in this article) and a bit of hard work, engine building is something you can do to a very high standard from your own garage.
In this article, you will learn the HPA 10-Step process for Engine Building — designed to simplify the art of engine assembly into easy-to-follow, manageable steps. By the end, you’ll have a great blueprint (pun intended) to follow when building your engine, but if you want even more detail check out Practical Engine Building (our most popular Engine Building course).
Step 1: Initial Engine Building Preparation
The process begins with initial preparation, where a clear plan is established. This stage helps you anticipate what parts and modifications are going to be needed, avoiding delays and ensuring nothing is overlooked once you get into the build.
A critical part of this preparation process is considering the project's aims. For example, how much power are you aiming for? And what about RPM targets? With this kind of information, you’ll be able to choose the appropriate components to meet your goals.
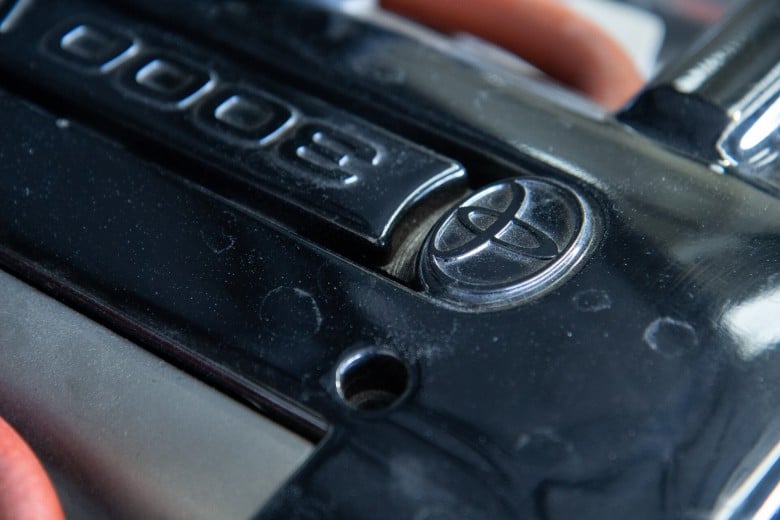
First, you need to make sure you’re aware of known weak points with the engine — let’s say, for example, that you have a Toyota 2JZ-GTE engine, and you’re looking for 1000 horsepower at the wheels. In the 2JZ’s case, although there are plenty of these engines running around with 1000hp completely stock-standard, one of its weaker points are the factory main bearing caps, so you should be planning to replace these with billet examples for reliability’s sake.
Setting clear goals and consulting with other builders or machinists can provide valuable insights into suitable components and common issues — online forums and manufacturer advice can also help massively.
Finally, it’s important to consider any known issues with the specific donor engine you’re using to ensure they’re addressed during the build — this could be an engine that had previously blown a head gasket, run a bearing, or suffered a piston failure and has a scored cylinder wall.
With a detailed plan and all components ready, the actual engine stripping and assembly can start.
More of a visual learner? The Practical Engine Building course contains over 80 easy-to-follow video lessons that might be perfect for you.
Step 2: Stripping and Inspecting an Engine
The second step in the engine-building process involves the careful disassembly and inspection of the motor and all its components. This is a crucial but often overlooked step, as hastily stripping an engine can lead to unnoticed problems with components that may cause delays, additional costs, or premature engine failure.
A structured approach to disassembly, including careful labelling and organisation of parts and fasteners using clear plastic bags, is recommended to streamline reassembly and avoid frustration.
Whether you’re replacing or reusing parts, you’re going to want to carry out a very thorough inspection for damage like signs of detonation, cracks, and wear in critical areas like the wrist pin bores and conrods. Of course, this inspection is crucial if the parts are going to be reused, but it’s also important if everything is being replaced, as it could point to a problem with the existing tune that needs to be addressed.
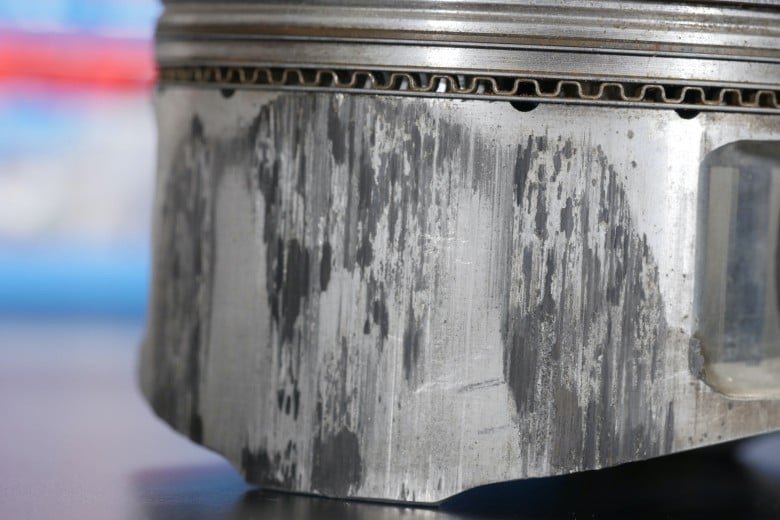
Special attention should be paid to any signs of previous damage, lubrication issues, and the condition of crankshaft journals and bearings. In high power and/or RPM builds, it’s especially important to check for flex and wear patterns on components like the main bearings.
Additionally, inspecting the mating surfaces of the main bearing caps for fretting and checking the condition of the head gasket and mating surfaces is a must.
For pushrod engines with flat tappet style lifters, these should be inspected for wear, but not before clearly labelling which lifter came from which location, as these tend to wear to the individual cam lobe they contact with, and mixing them up on reassembly can cause a lot of problems.
This thorough disassembly and inspection process helps identify issues early, allowing for necessary adjustments and part replacements before it’s too late.
Lastly, if the engine has previously seen any type of bearing failure or wear, the oil cooler (if present) should also be replaced to prevent contamination — there’s simply no reliable method of cleaning that can guarantee no unwanted material has made its way in there.
Step 3: Machining an Engine
With the engine disassembled and inspected, the next step of the engine-building process involves machine work preparation — this might include boring, honing, decking, crack testing, and balancing.
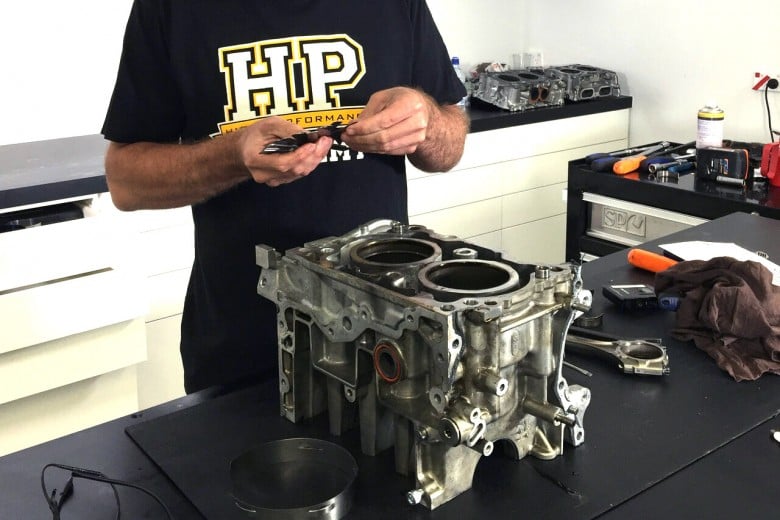
Before sending your components to the machinist, it's crucial to check clearances and tolerances — especially oil clearances in the main and big end bearings, and the side clearances of the connecting rods.
While stock engines may not need adjustments, if you’re going to use aftermarket parts, these might require changes to the clearances, either through different bearing grades or machining adjustments — this is something you need to discuss with your supplier and machinist.
On that subject, selecting a skilled machinist is essential — make sure you do your research and ask around with local motorsport enthusiasts and car clubs because the quality of work that any machinist produces will quickly earn them a reputation — good or bad.
Building a good relationship with the machinist, being honest about your experience, and seeking guidance will ensure better results.
When delivering engine components to the machinist, provide a clear list of required tasks and ensure all necessary parts are included.
Clear communication, preferably through detailed written instructions, is key to ensuring the machinist understands your specific requirements for clearances and other modifications — addressing these details upfront can prevent issues later in the assembly process.
Step 4: Preparing an Engine Block
After receiving the parts back from the machine shop, the next step is to prepare the engine block for assembly.
This involves first fitting the block to an engine stand and cleaning out all threaded holes to remove debris, which ensures smooth installation of fasteners and prevents bolt breakage.
Deburring sharp edges is also crucial to eliminate points where stress can concentrate and cause a failure in operation. Additionally, removing any casting flash, which can break off and damage the engine, is essential for ensuring reliability.
Further block preparation involves addressing the oil galleries to improve flow. This means using a die grinder to smooth the cast finish and possibly “radiusing” direction changes — as in, smoothing out the curvature of any corners — within the oil passages.
For cast iron blocks, painting the external surfaces is necessary to prevent corrosion, whereas alloy blocks typically remain unpainted as they don’t corrode.
With the engine block thoroughly prepared, cleaned, and, if necessary, painted, it’s now ready for assembly. This stage marks the completion of the block preparation and the beginning of the assembly process.
Step 5: Balancing Engine Parts
While many engine builders will choose to leave the balancing work to their engine machinist, some balancing tasks are actually not beyond the scope of a competent enthusiast and will simply require a quality set of precision scales, a power file or die grinder, and, if you want to balance your own rods, a conrod balancing fixture.
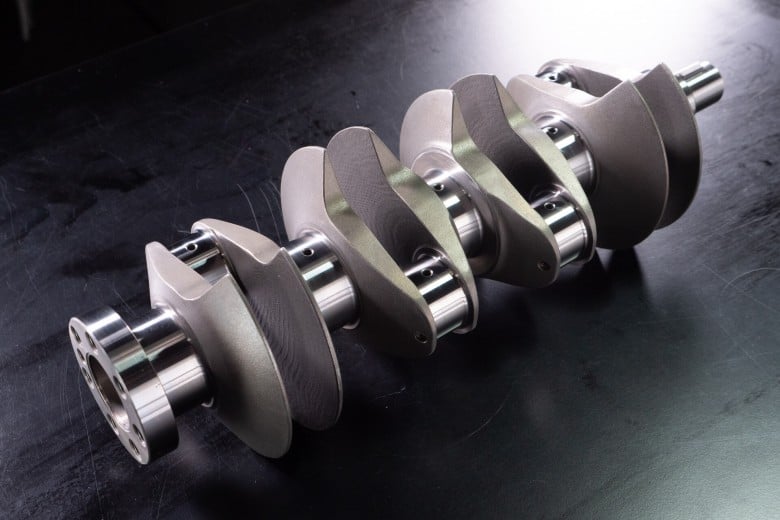
Balancing the actual crankshaft requires an expensive specialist machine so this needs to be left to your machinist.
In regards to the precision scales, you’ll need to purchase a set of digital scales that can support approximately two kilograms and read down to a tenth of a gram (0.1 grams) — it’s possible to purchase scales that can measure down to a hundredth of a gram (0.01 grams) or even more but this isn’t strictly necessary for the precision this job requires.
The specifics of balancing engine components are all covered in detail in our Practical Engine Building course.
Step 6: Engine Component Cleaning
Cleanliness is absolutely crucial in engine assembly due to the tight tolerances between components, where any dirt or debris can cause wear or damage.
This essential step starts before the components leave the machinist, who typically performs a hot wash — you can think of it like a large dishwasher for engine parts — to remove debris from boring, honing, and other machining processes.
This initial cleaning is just the start, however, as a thorough cleaning process is necessary to ensure all remaining dirt and grime are eliminated once you get everything back on your bench.
For proper cleaning, you’ll need:
- Dry compressed air
- Stiff bristle brushes of various sizes
- Clean rags
- Hot water and detergent
- Brake cleaner
- An oiling can filled with clean mineral-based engine oil.
Specialised engine cleaning brush kits are available from suppliers like Jegs and Summit, which include all necessary sizes.
After cleaning, it’s important to protect ferrous surfaces like cylinder bores, deck surfaces, and con rods, with a liberal coat of clean engine oil to prevent corrosion. It's also crucial to keep all components free from dirt and debris until assembly.
This level of cleanliness must extend to all parts, including oil pumps, the sump, front covers, sprockets, cam chains, rockers, valve springs, and cams, ensuring each component is meticulously clean before assembly.
Our Practical Engine Building course provides detailed instructions on the cleaning process for each engine component, ensuring all parts are adequately prepared for assembly.
Step 7: Assembling The Short Block
You’re now ready to begin assembling the engine short block, which includes the engine block and internal components but excludes the cylinder head.
This critical step involves several smaller tasks, starting with verifying that all engine clearances match your specifications. This includes measuring the piston-to-bore clearance, bearing oil clearances for the main and big end bearings, and the thrust end float of the crankshaft.
Ensuring these clearances are correct is vital if you want to avoid expensive issues later on, and thorough checks will prompt machinists to deliver better-quality work.
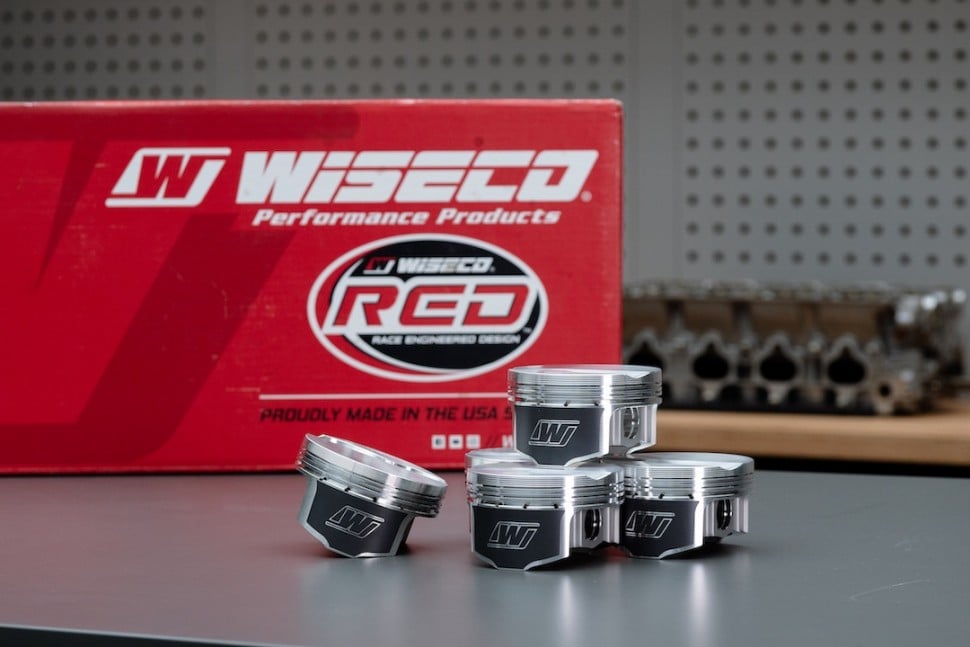
The next steps involve filing the piston ring end gaps, fitting the pistons onto the conrods, and installing the rings onto the pistons. After preparing these assemblies, you’ll need to fit the crankshaft into the engine block and install the piston and conrod assemblies to complete the rotating assembly installation.
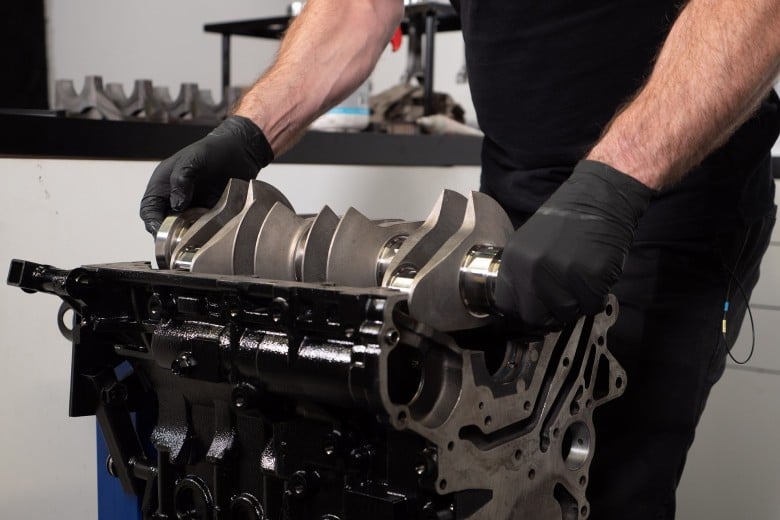
For engines with significantly modified parts, a dummy assembly can help check for acceptable valve-to-piston and piston-to-head clearance, especially when using high-compression pistons or stroker crankshafts. In the case of a stroker crankshaft, it’s also important to check that the rods clear the engine block.
For pushrod engines, the camshaft and lifters must be installed before completing the short block assembly. Inspect and, if necessary, replace the cam bearings — this is something a machinist can do if you’re not overly confident in this sometimes tricky job. Different types of lifters also require specific attention, especially flat tappet lifters, which must be properly lubricated to prevent wear during startup.
Once these components are in place and correctly installed, the short block assembly is complete, and you can move on to preparing the cylinder head.
Step 8: Assembling a Cylinder Head
Before starting this step, the cylinder head should be stripped, cleaned, and prepared for reassembly.
Typically, new valve guide seals are fitted first, followed by inserting the valves into the guides, and then installing the valve springs, retainers, and collets — as always, detailed instructions for this process can be found in our Practical Engine Building course.
Depending on the head design, you can either assemble the head onto the block bare and add the remaining valve train later, or fully assemble the head before mounting it. For example, some cylinder heads may require the cams to be removed to access the head bolts.
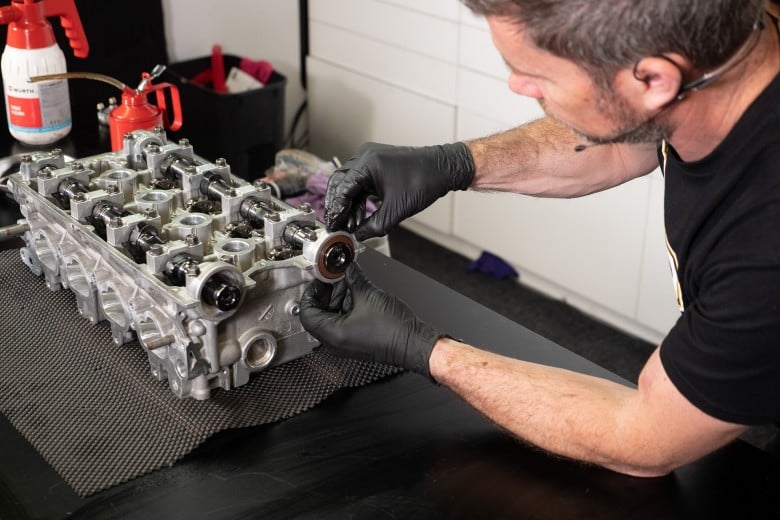
Next, you’ll need to consider valve lash or clearance which is crucial for correct valve actuation. In most modern engines a hydraulic lash adjuster is used. These utilise engine oil pressure to take up the lash clearance and don’t require adjustment.
On the other hand, if your engine uses a mechanical lifter or lash adjuster you’ll need to adjust the clearance to the cam manufacturer's specification. Mechanical systems require periodic adjustment but are generally preferable for high performance, high rpm use, while hydraulic adjusters are maintenance-free, which is why they’re favoured by OEMs, but they do have some drawbacks.
For mechanical systems, valve lash needs to be set after the head is installed and torqued down, whereas hydraulic adjusters in overhead cam engines should be bled down prior to installation to avoid valve contact issues.
When fitting cams in an overhead cam cylinder head, the cams run directly on the aluminium surface of the cam journals without bearings. This means that it’s crucial to ensure these surfaces are adequately lubricated during assembly.
Using a moly-based assembly lube is recommended for better protection during initial startup compared to plain engine oil.
Step 9: Assembling Your Long Block
Once the crankshaft and pistons are fitted, assembling the long block involves fitting up the cylinder head, oil pump, crank seals, and sump.
It’s best to begin by installing new oil seals on the rear main and front cover assembly.
Once that’s done, it’s time to prime the oil pump by disassembling it and filling it with assembly lubricant to ensure it will quickly build oil pressure during initial startup. Care must be taken when sealing components like the sump and oil pump housing to avoid oil leaks, using proper silicon sealant and the application techniques outlined in the course.
Before installing the cylinder head, ensure the crankshaft is rotated so the piston for cylinder one is just below TDC to prevent valve damage during head installation. Cleaning the mating surfaces of the block and head thoroughly before placing the head gasket correctly over the dowels is essential.
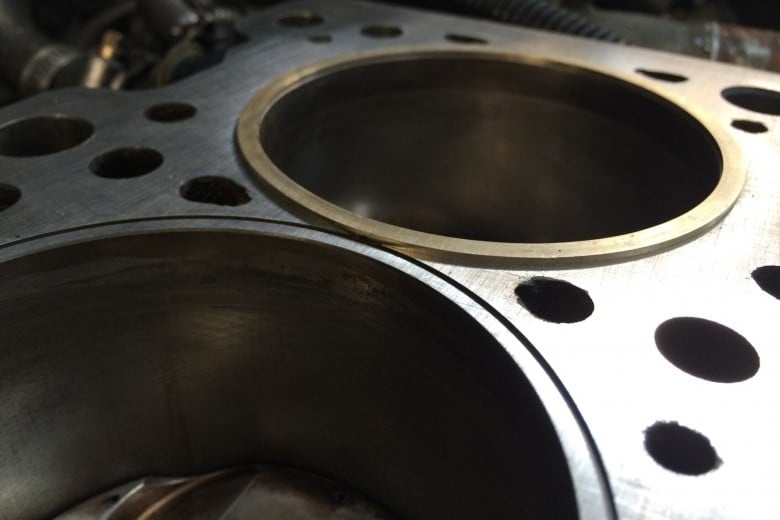
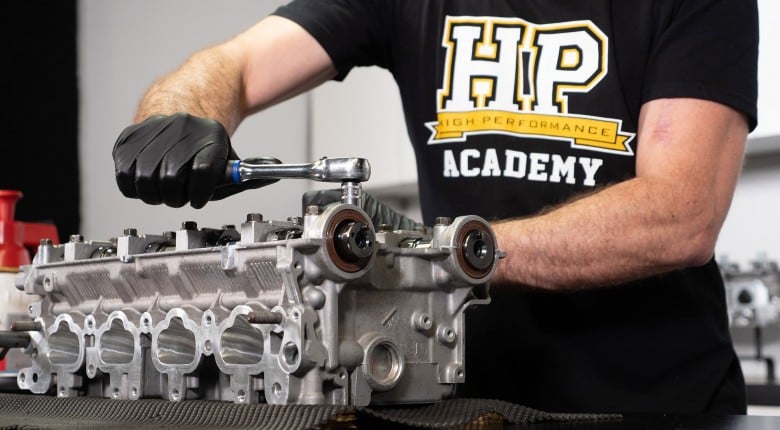
If you’re using a head stud kit, install the studs smoothly by hand, ensuring they’re hand-tight without excessive force. Lower the head onto the block, install the washers and nuts, and torque the head in stages, as recommended by the manufacturer of the stud kit.
While you’ll need to use the torque recommendation from the stud manufacturer, it’s always best to follow the OE manufacturer's torque sequence which will usually start in the centre of the head and work towards the outside. This ensures the best head gasket sealing with no distortion of the head.
Step 10: Initial Engine Start Up
For the initial startup, fill the engine with fresh mineral-based oil and prime a new oil filter. Fill the cooling system with plain water for the break-in period. Disable fuel and ignition systems to prevent accidental startup, and crank the engine to build oil pressure, ideally using an external oil pressure gauge.
After achieving good oil pressure, reinstall the spark plugs, enable fuel and ignition, and start the engine.
At this point in the process, it’s very important to monitor for any mechanical issues, ensuring you have sufficient oil pressure, and no fluid leaks during the initial start up. This is a good time to perform any initial setup activities like setting the base ignition timing and fuel pressure, and once everything is in order, you can begin the break-in process.
The break-in process for a freshly built engine is often debated, with two main approaches — a gentle, low-load break-in over several thousand kilometres, or a more aggressive method involving full load shortly after startup. Our recommendation falls between these two extremes.
The primary goal of breaking in an engine is to properly bed the new piston rings against the freshly honed cylinder walls. Misunderstandings are everywhere when it comes to this subject though, like the myth that bearings need to bed in, or we are heat treating the components; instead, the focus should be on achieving a good ring seal through varying the engine load and rpm.
Properly bedding the rings is aided by applying load to generate cylinder pressure, which forces the rings against the cylinder walls. However, sustained operation under high load and rpm can generate excessive heat which you’ll also want to avoid. Simply idling or running at low load can prevent the rings from bedding correctly, potentially leading to glazing of the bores and the need for re-honing.
The break-in process should involve periods of light to moderate load, followed by periods where you back off the throttle and reduce rpm to allow the rings to cool. Starting with one-third of the engine's rev limit and gradually increasing throttle, applying load for short periods and allowing cool-down intervals, and then gradually increasing both rpm and load can achieve effective ring bedding within about an hour on a dyno.
After the initial break-in, an oil and filter change is recommended to remove bore scrapings from the bedding process as well as assembly lubricant from the oil. While most of the break-in occurs within the first 20-50 kilometres, the rings will continue to break in over the next 200 kilometres so it’s advisable to complete this running on mineral-based before switching to a full synthetic oil.
For engines with flat tappet lifters, additional precautions are needed, such as avoiding idling and varying engine RPM during the first 15-20 minutes of use. Following these guidelines helps ensure a well-sealed engine, ready for tuning.
How Can I Learn More?
Now that you’ve got the basic framework for a proper engine build and break-in, what’s next?
If you’re ready to take on this task, we highly recommend jumping into High Performance Academy’s Practical Engine Building course. Not only are you going to get the full, expanded 10-step process that we’ve covered in this article, but you’ll also learn everything else you need to know to build any kind of engine, from stock to highly modified — all in an easy-to-follow video format.
If you’re completely new to engine building, the smart move would be either first taking our introductory Engine Building Fundamentals course, which sets you up with the basic knowledge needed before jumping into the practical side, or picking up our complete Engine Building package, which includes both these courses, plus the very useful How to Degree a Cam course.
Ready to get started? Start learning here.




Comments
No one has commented on this page yet.