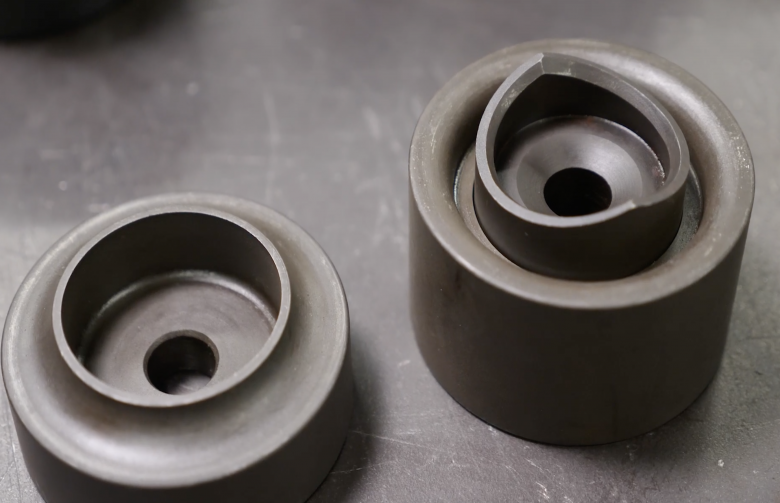
Removing weight from sheet metal while adding rigidity is the perfect task for a dimple die, and in this quick article, we'll show you how we produce the hole and shape the dimple die flange.
In this article: What Is A Dimple Die? | How To Use A Dimple Die | Hole Saw Method | Punch And Flare Tool | Pro Tip
What Is A Dimple Die?
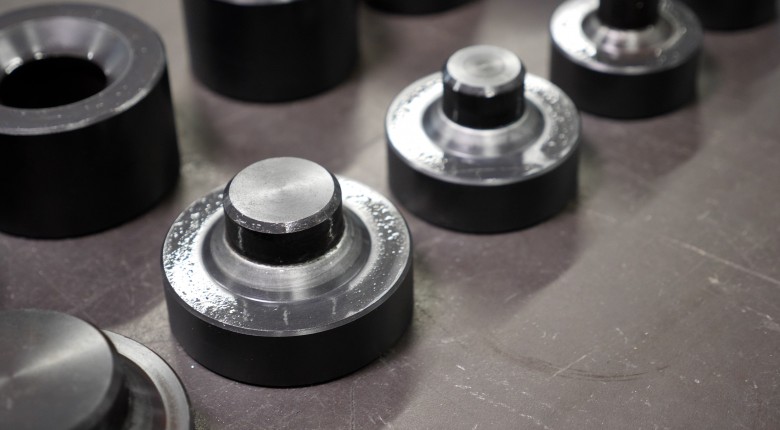
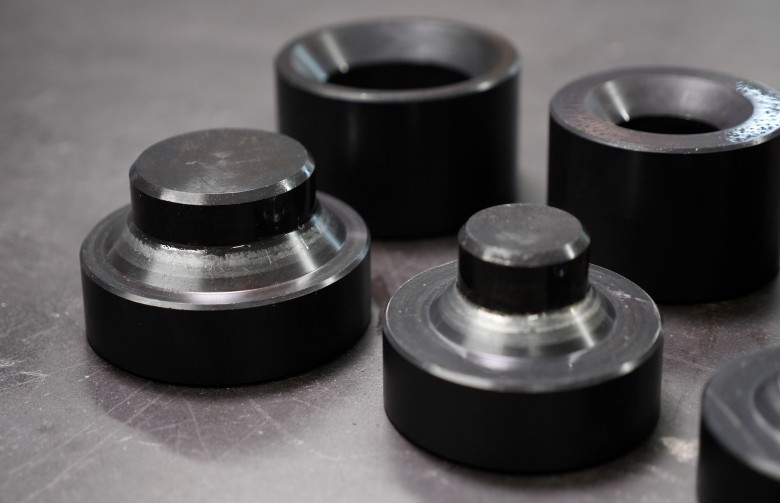
A dimple die consists of the upper punch half and the lower die section half which are machined out of a long lasting and hard wearing 4130 chromoly and can be purchased individually or in full kits. The flare section on a dimple die is available in 2 styles and we'll be demonstrating using the more traditional straight flared style above, rather than the radiused style that's also prevalent in the industry.
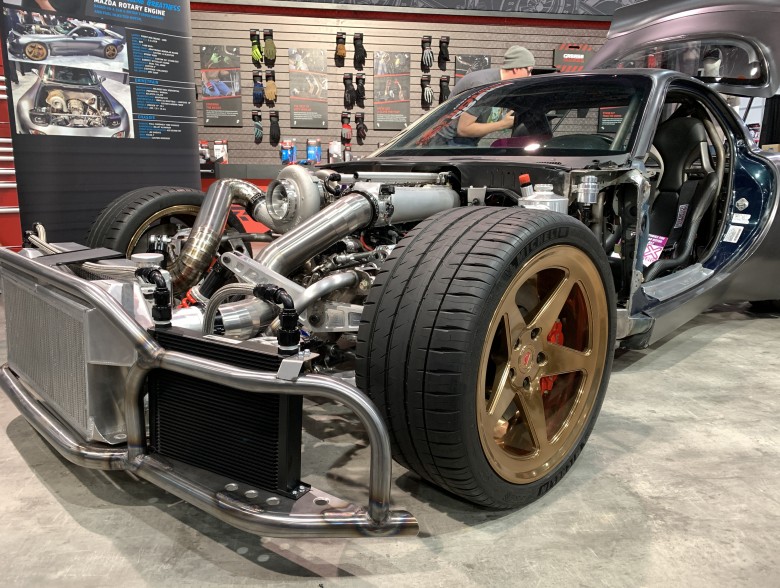
This flare on the dimple die is the reason that the strength and rigidity is retained while the weight saving is a product of the hole that we cut through the material. Regardless which style of dimple die you're using though, the process is identical.
How To Use A Dimple Die
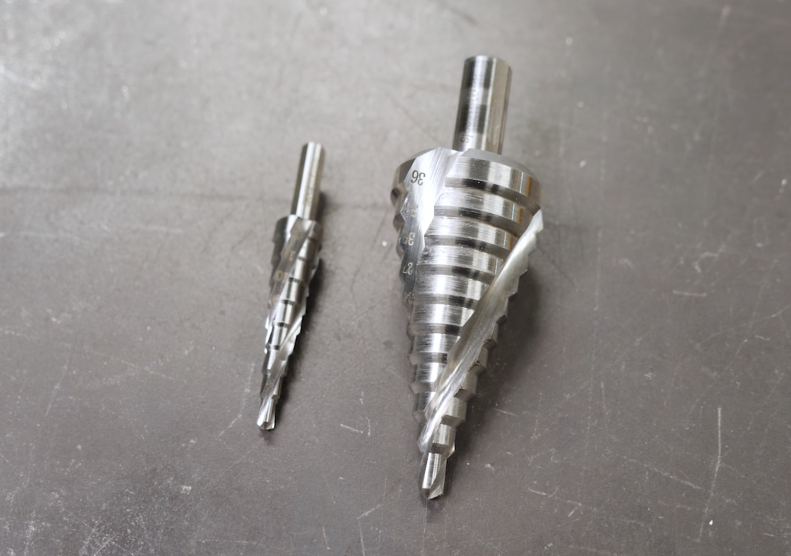
To use a dimple die on sheet metal, first we need to drill a hole in the centre of where we want our dimple die to locate. This can be done in 3 ways depending on the size of your dimple die. For smaller sizes, you can use a step drill to achieve the required hole size but for larger sizes you'll need to use either a hole saw or a hydraulic punch.
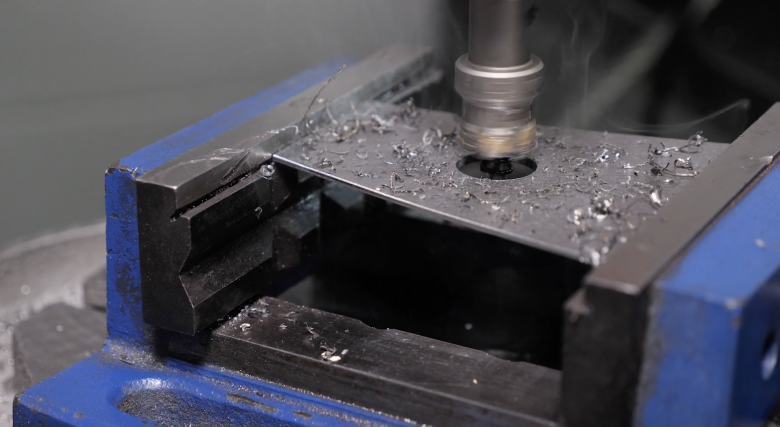
The hole saw can achieve good results, however there will usually be some amount of movement in the hole saw that will affect the ultimate accuracy and size of your finished hole. This tends to be magnified as the hole saw gets larger in diameter and is usually significantly worse on cheap quality hole saws. The other option that will produce a perfect hole every time is a hydraulic hole punch. These are very similar the punch and flare tool that we'll look at next however they only produce the hole without the flare.
Hole Saw Method
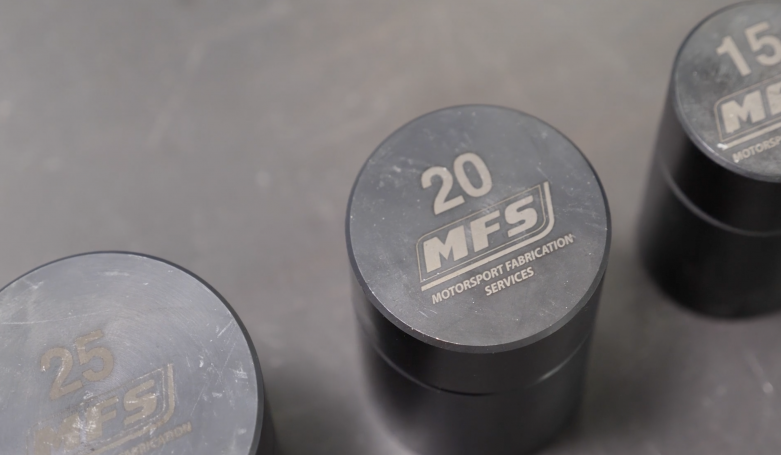
For the purpose of this article, we'll go through the process of using a hole saw to produce the hole for our dimple die. We've chosen a 20 mm dimple die which means that we need a matching 20 mm hole saw.
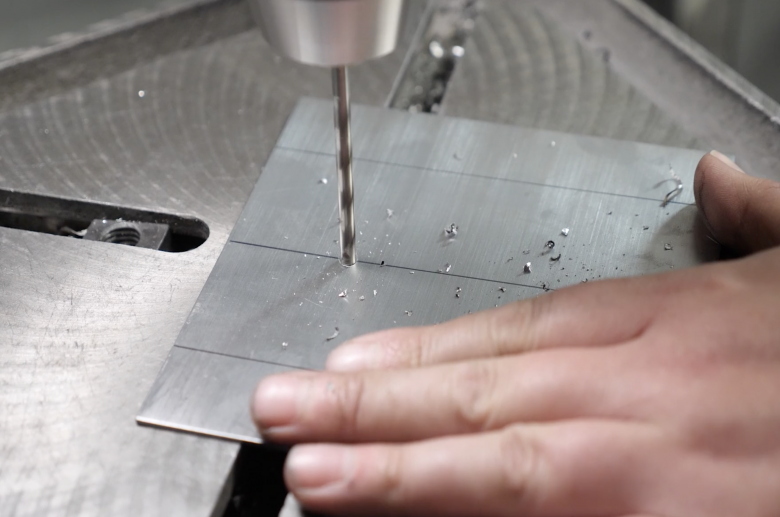
Before drilling our hole we need to carefully mark the desired location for our hole and centre punch it to provide an accurate reference for the pilot drill of the hole saw to locate on. We can secure our workpiece in a drill vice and use our drill press to drill our 20 mm hole.
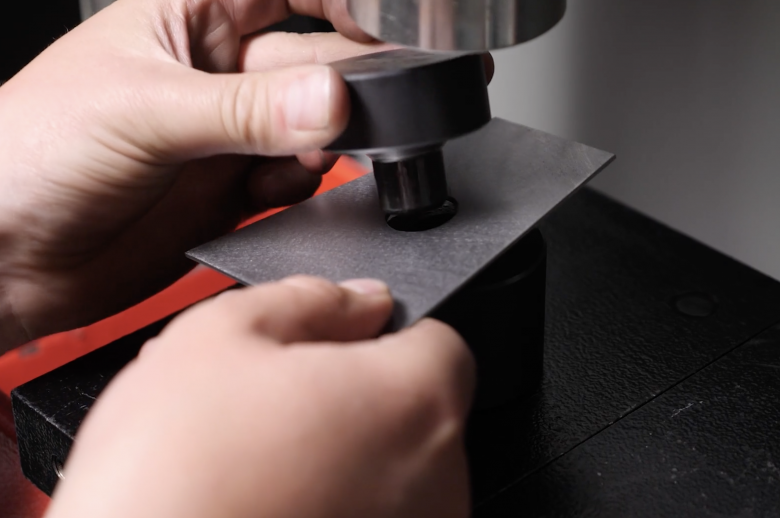
With the hole complete, it will require deburring and we're now ready to locate the two halves of our dimple die through the hole. It should go without saying but it's important to ensure that you've fitted the correct half of the die on the bottom and the top of your work piece to ensure that the flare will be created in the right direction.
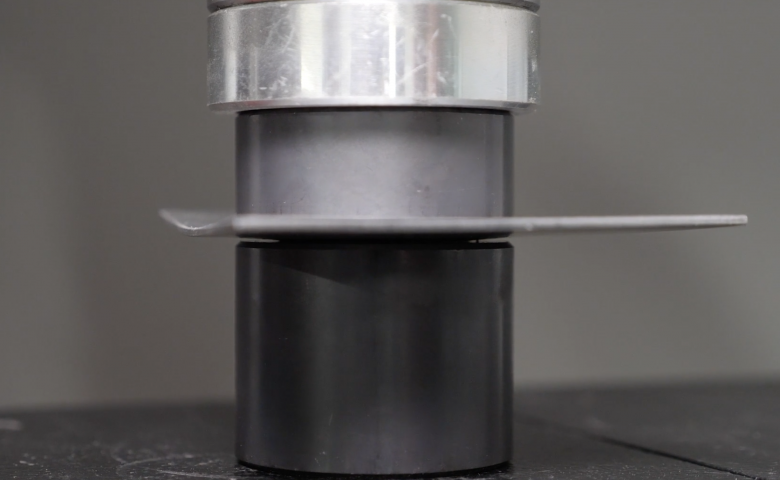
While you can purchase hydraulic dimple die kits, the one we're using is manually actuated and we can use a hydraulic press to force the two halves of the dimple die together. Alternatively, if you don't have a press then you can achieve the same result by using a bench vice, although this requires a little bit more care in order to get great results. You will know the process is complete when the resistance on the press or the bench vice increases significantly.
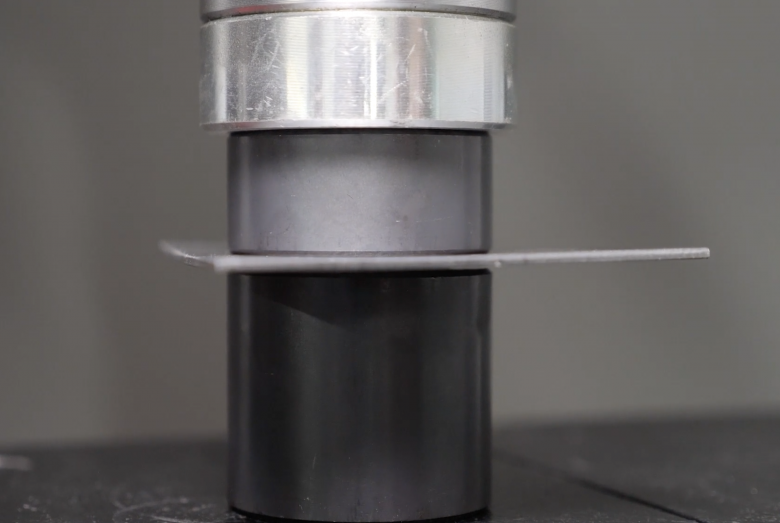
You'll also notice that as the flare begins to form, the sheet metal will initially bow quite significantly, however as we progress and the dimple die bottoms on the workpiece, the material will become flat again.
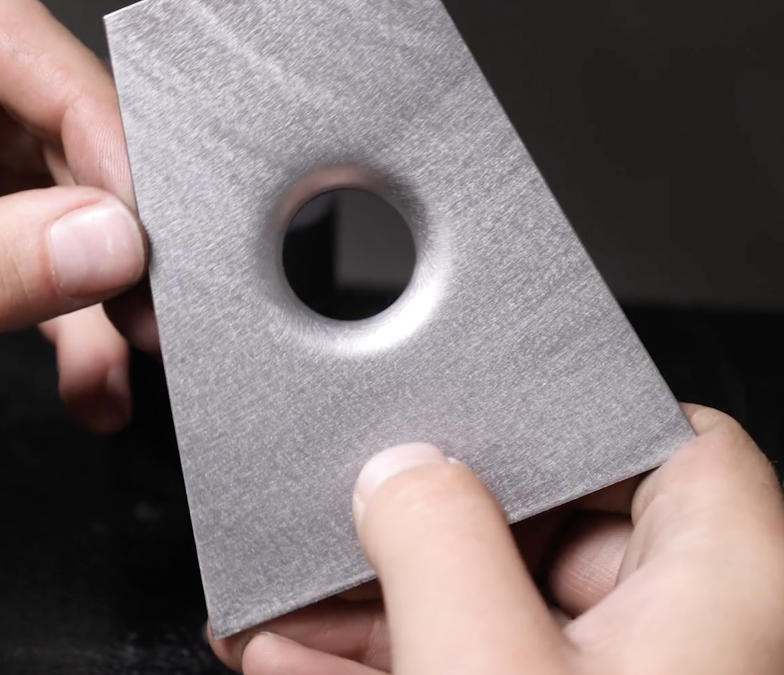
It is important to stop when you reach this point or you can end up marking softer material like aluminium.
Punch And Flare Tool
With our first demonstration complete, we'll now have a look at the alternative to the dimple die, the punch and flare tool, which will cut the inside diameter of the hole and perform the flare in one process, ensuring an accurate and repeatable finish to the hole every time. These tools are still not entirely drill free though as we still need to start by drilling a hole for the centre bolt to locate through. This is essentially the same as what we've already looked at, although in this case the centre bolt requires a 12 mm hole to pass through.
With our location marked and centre punched, we can drill a pilot hole and then follow this up with our finished hole size. Once deburred, we can locate the two halves of our punch and flare tool on each side of our workpiece, taking note of the direction of the flare one again.
The tool that we're using is designed to be drawn together by tightening the threaded bolt through the centre and this can work well, particularly on thinner or softer materials like aluminium. We've found though, with the larger diameter dies on thicker steel that the thread can become damaged over time. For this reason, we're actually going to use our press instead.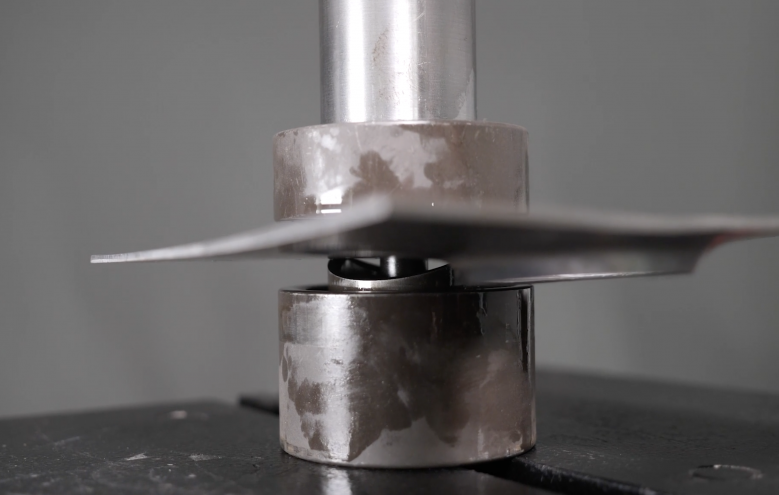
This requires a sleeve to be placed between the die and the press so that the die can be compressed without the press contacting the bolt. Alternatively you can purchase a hydraulic version of the punch and flare tool for just a little bit more outlay. Just like the dimple die, we know that the task is complete when the workpiece becomes flat and the resistance on the press increases.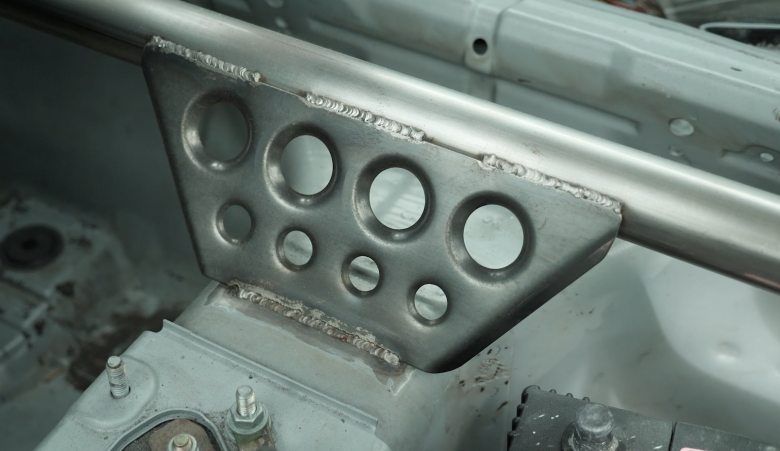
Pro Tip!
Pro Tip: Plan ahead! If you're intending to dimple die a series of holes then it's important to work out your center spacing first to avoid to allow the clearance between the flares fouling on the ones that will be pressed next to it.
This is just one of many topics covered in the Fabrication Fundamentals course.
