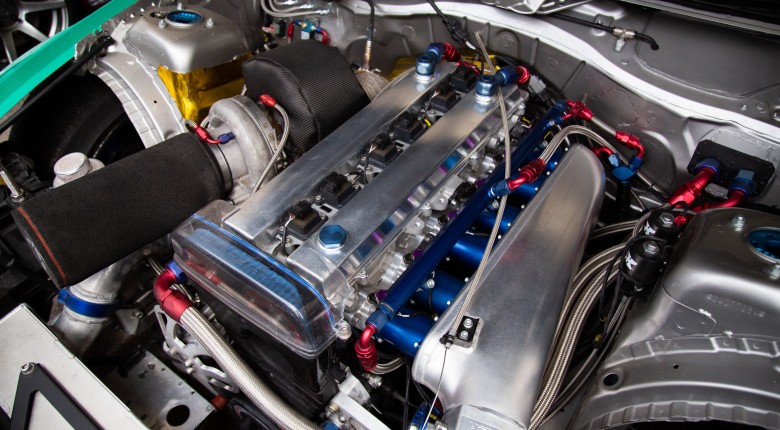
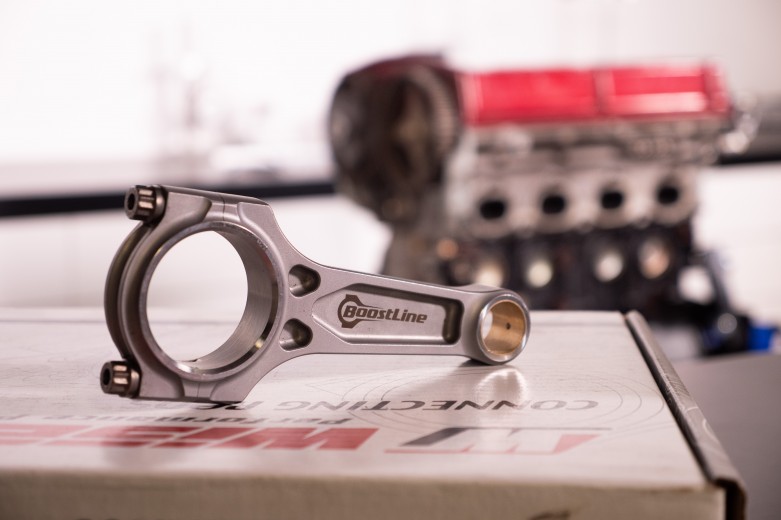
Pastigauge. If reading that word triggers anger in you and thoughts of half-assed engine builders, then you either don't know how to use this tool correctly or are yet to learn how it can actually make you a better engine builder than one that uses a dial bore gauge and micrometre alone.
But let's take a step back and discuss, what are all these tools and what are they for anyway?
In this article: What Is Plastigauge? | A Dial Bore Gauge & Micrometre? Explain! | So What One Is Better? | The Most Important Tool
What Is Plastigauge?
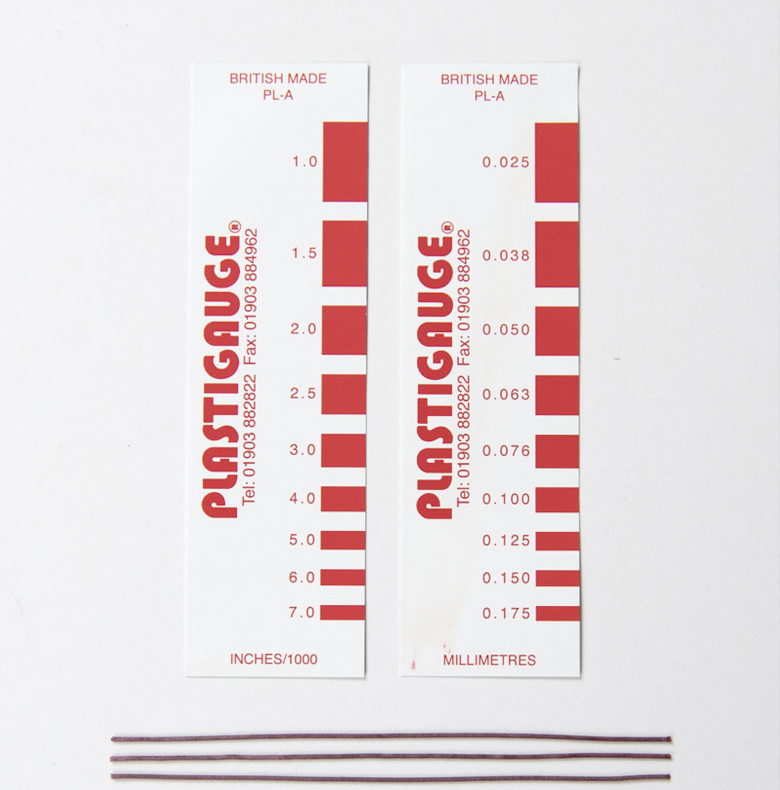
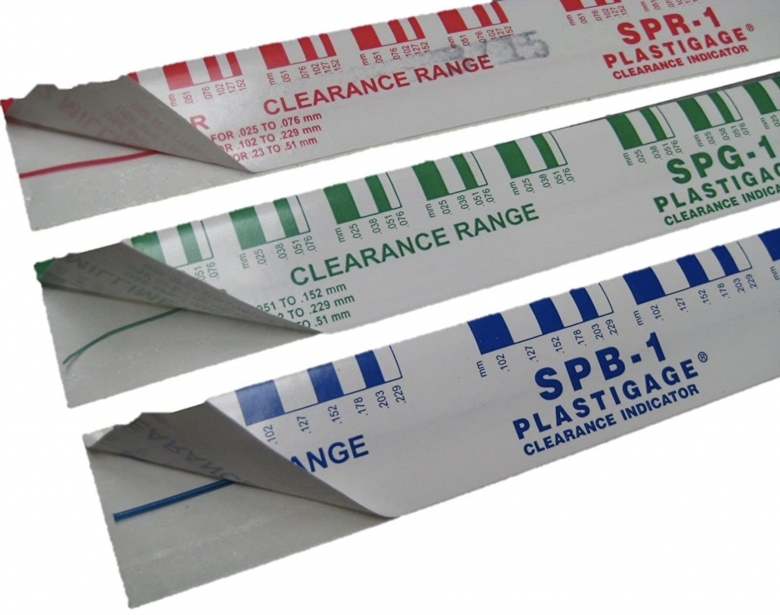
Plastigauge, aka Plasti-gauge, is a type of plastic-based material that is used to measure the clearance between two surfaces, such as the bearing surfaces on a crankshaft. It is a 'one-time use' tool that comes in coloured strips ranging from PL-A 0.025mm - 0.175mm ( 0.001" - 0.007") to PL-E 0.750mm - 1.750mm (0.030" - 0.070") along with some alphabetical confusion and a jump to PL-X 0.018mm - 0.045mm which is a measurement range that has been added for our benefit in the performance industry where tolerances are often tighter than 'OEM spec' builds.
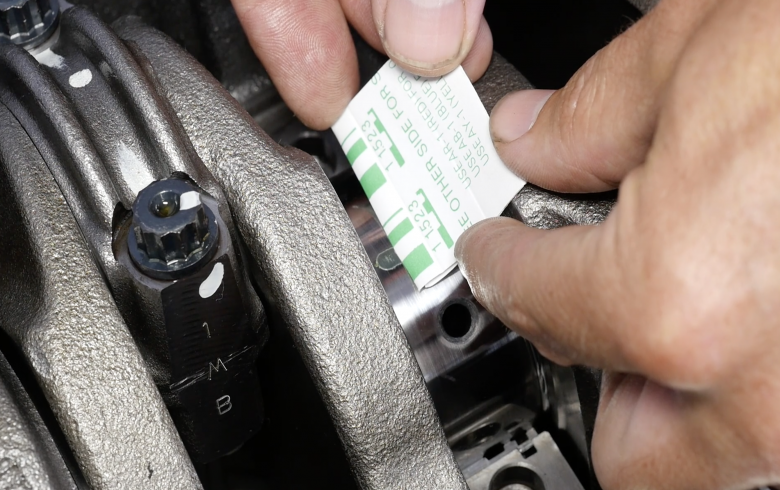
To use Plastigauge, the user places a small strip of the material between the two surfaces and then tightens the fasteners to their specified torque. The Plastigauge will then compress and spread out between the two surfaces, allowing the user to undo the fasteners and measure the clearance. This is done by measuring the width of the Plastigauge after it has been compressed against the supplied ruler on the packaging. This allows the user to ensure that the clearance between the two surfaces is within the specified tolerances.
While our main usage is to measure our bearing clearances, Plastigauge also finds itself used widely for marine drive shaft bearings, turbine housing bearings, pump and pressure system bearings, shaft end-float, flatness and clearance in pipe-flanges and cylinder heads. Simple right? Absolutely, and that is one of the major advantages of using Plastigauge.
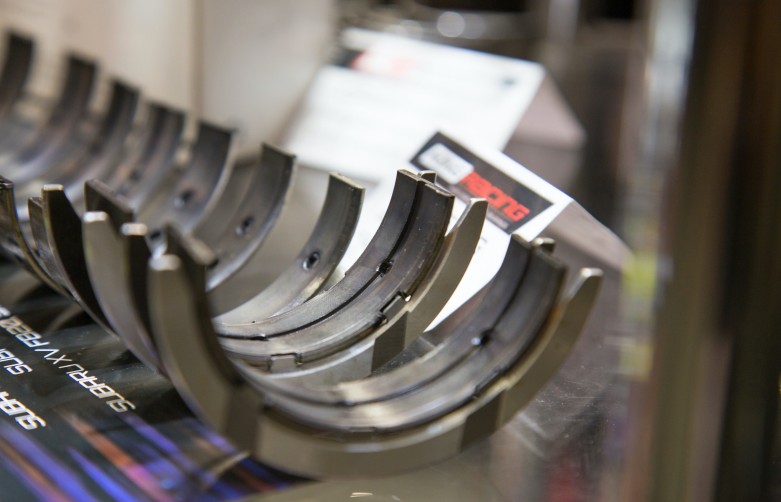
Pros of Plastigauge:
- Ease of use: Plastigauge is relatively easy to use compared to a dial bore gauge or micrometre. It's one tool that does the job of 2.
- Availability: Plastigauge is widely available and can be purchased at most automotive parts stores in various quantity options, making it easy to find and obtain when needed.
- Cost: Plastigauge is inexpensive compared to dial bore gauges and micrometers, which can make it a more practical option in some situations, such as those working on their project/s at home for the first time or infrequently.
- Engine assembly: It offers us the option of extra clearance checks during the assembly process where it's no longer physically possible with a bore gauge and mic.
- Speed of use: It is a quick process to use and check Plastigauge measurements
Cons of Plastigauge:
- User Error: Not following the correct procedure in terms of cleaning and assembly can lead to inaccurate readings.
- Lacking Precision: It is not as precise as other methods of measuring clearance as it gives you a tolerance range, not a specific measurement potentially leaving about half a thousandth of an inch on the table. This can be OK since we are working within a tolerance range.
- There When You Need It?: Plastigauge is not reusable and must be replaced/restocked.

A Dial Bore Gauge & Micrometre? What Are They?
A dial bore gauge, often just called a bore gauge, is a precision measuring tool that is used to measure the internal diameter of a bore, or hole. It consists of a set of accurately-machined anvils with a dial indicator attached to one end. The user inserts the anvils into the bore, one at a time, until they are fully seated. As the anvils are inserted, the dial indicator measures the diameter of the bore, allowing the user to determine the size of the bore with a high degree of accuracy. The bore gauge is used, for this example, to check and confirm bearing clearances for both the main bearings and big end bearings of the engine by measuring the inside diameter of the con rod big end journal with the bearing shells installed, or alternatively, the main bearing tunnel in the block, with the main bearing shells installed. The bore gauge has a dial indicator on it, however, the dial indicator doesn't specifically measure the component we're interested in and instead, the dial indicator is used to compare two measurements, and as such, first of all, we need to set or zero, the Dial Bore Gauge at our required specification using a micrometre.
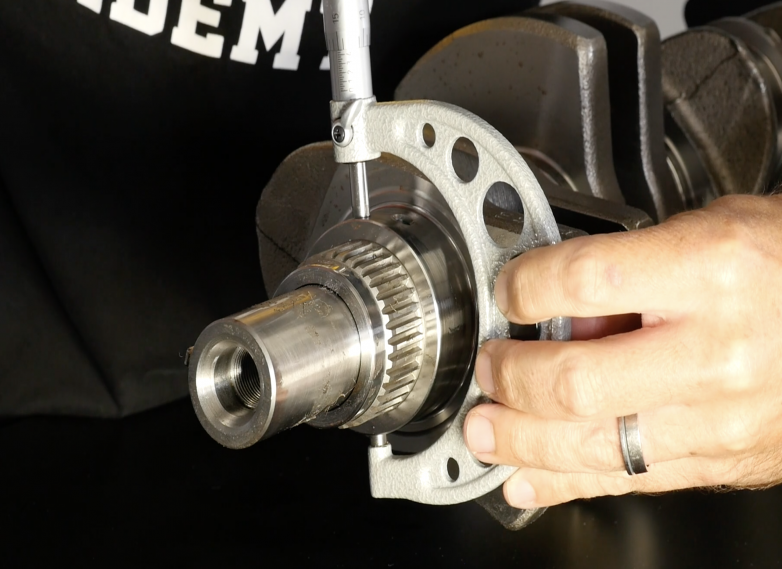
A micrometre, commonly referred to as a micrometer or mic, is a crucial tool for engine builders. It is a precision measuring device that provides high accuracy and precision for measuring engine components. In imperial units, a micrometre can measure down to four decimal places, or one ten-thousandth of an inch. In the metric system, it can measure to three decimal places or one-thousandth of a millimetre. The most commonly used type of micrometre is an outside micrometre, used to measure the outer diameter of components such as crankshaft journals or piston skirts. The micrometre works by using a fine screw thread to magnify small distances into larger rotations of the screw, which can be easily read from a graduated scale on the sleeve, or a digital readout depending on your specific set.
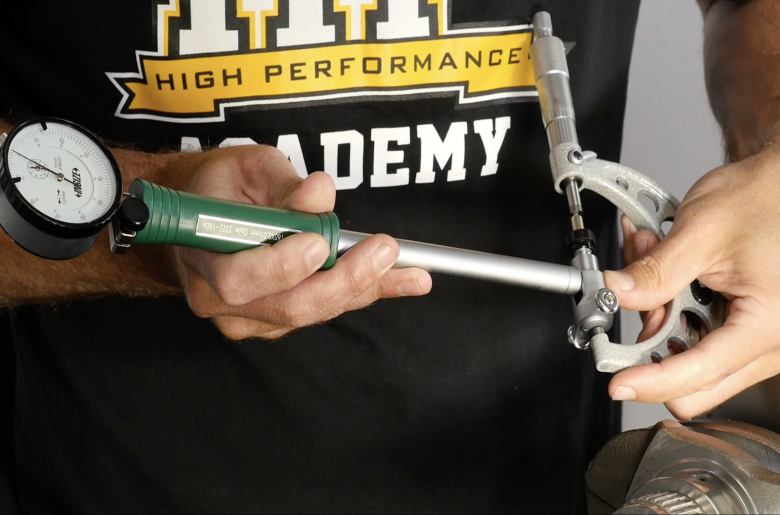
To measure your engine bearing clearances using a bore gauge and mic, the first step is to measure the journal on the crankshaft with the micrometre and take several measurements to ensure that the journal is round and parallel. The micrometre measurement is then transferred onto the bore gauge. The bore gauge is adjusted so that it swings to zero as it is swept across the ends of the micrometre, setting the minimum reading to match the diameter of the crankshaft journal. The bearings and bearing caps are then installed, and torqued to specifications, and the bore gauge is placed in the bearing to check the clearance. The bore gauge is used perpendicular to the parting line and gently rocked through the vertical plane inside the bearing shells. The shortest distance measured by the bore gauge is the bearing clearance for that journal. It is important to measure each journal and each bearing individually and not make assumptions during the measurement process.
Like Plastiguague, micrometres have a limited area of operation meaning sometimes you might need a set covering a range of tolerances/sizes to use them for multiple tasks on multiple engines, which is one of the reasons why the cost/s can add up.
Pro Tip: While the upfront cost is higher, you are much better off buying a set of micrometres for your needs instead of one at a time.
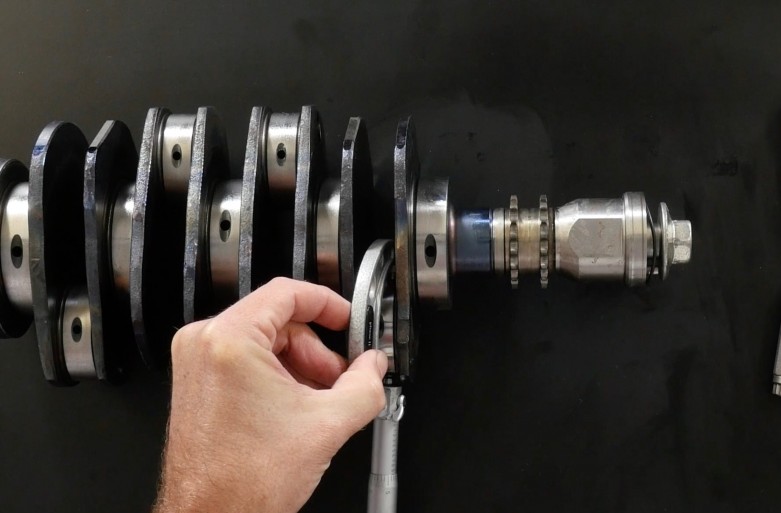
Dial Bore Gauge and Mic Pros:
- Accuracy: Dial bore gauges and micrometers are highly precise instruments that can measure small dimensions to a high degree of accuracy relative to the range of the specific tool.
- Repeatability: Dial bore gauges, and micrometers provide repeatable measurements.
- Versatility: Dial bore gauges and micrometers can measure a wide range of dimensions, including the diameters of various engine components. This makes them useful for a variety of other engine-building tasks in addition to measuring bearing clearances.
- Durability: Dial bore gauges and micrometers are typically made from high-quality materials designed to withstand the wear and tear of regular use in an automotive environment. This makes them a reliable and long-lasting tool that you do not have to 'keep stocked'.
Dial Bore Gauge and Mic Cons:
- Cost: Dial bore gauges and micrometres are relatively expensive tools, especially when compared to Plastigauge.
- Skill required: Using a dial bore gauge and micrometres accurately requires a certain level of skill and experience. An inexperienced or untrained person may not be able to obtain accurate measurements with these tools no matter how much money they spend on a quality set.
- Complexity: Dial bore gauges and micrometers are more complex than other methods for measuring engine bearing clearances. They require additional time and effort to set up and use including calibration, as well as only being useful before assembly starts.
- Maintenance: Dial bore gauges and micrometres are precision instruments that can require maintenance and cleaning to ensure they remain accurate and functional. This can add to the cost and effort required to use these tools effectively.
So, What Is Better? Plastigauge Or A Micrometer & Bore Gauge?
Here is where people get a little confused. For accuracy, precision tools like a bore gauge and mic are always going to win out over Plastigauge when it is seen as an alternative, but in our opinion, the best engine builders do not use one or the other of these tools, but both.
Plastigauge has its faults that you need to be aware of like any other tool, but the one large advantage where it can be used to check bearing clearances without dismantling the crankshaft is hard to beat. This allows engine builders to do a quick 'sanity' check during final assembly to ensure everything is correct, nothing has moved out of spec and we are yet to ever hear of an engine that was built 'too accurately'. Remember, 'trust, but verify!'
How To Use Plastigauge
Plastigauge, dial bore gauges and micrometres are tools you are going to come across when building performance engines, but the most important tool you need to use correctly is you. To get the most from your efforts you need to ensure your brain is filled with accurate knowledge and that you are taking the correct approach if you want good, reliable results. As such these tools and many others are covered in our engine building course material.
You will learn what the tools are, how they work and then see how they are used. Understanding exactly how your tool works helps you make sure you don't fall into any of the common traps, misreading vital clearances for example, that can see you doing a job twice, sometimes at great expense. You can find these and other tools including a ring file, stretch gauge, feeler blades, ring compressor, torque wrench, angle gauge, dial gauge and more in the Engine Building Fundamentals course. Other topics include fasteners, engine machining basics (how to check your machinist's good work), engine anatomy including rod-to-stroke and compression ratios, long block assembly and of course clearances and tolerances plus engine break-in.

In the follow-up course, Practical Engine Building, you can see all of these tools and techniques in use on actual engine builds from 1200hp turbocharged 6 cylinders to 650hp 4 cylinders and 550hp naturally aspirated V8s. It doesn't matter if your build is 10hp or 2000hp, the knowledge, tools and techniques you start with are all the same, so make sure you ensure the most important tool in your toolkit (you) is being used correctly by learning the skills you need today.
If you're ready to get started, check out these Engine Building Courses or get started with a FREE lesson here.
